Inspecting
Careful inspection
Non-destructive testing of bars and tubes –
your partner sema
-
Various testing tables for e.g. ultrasonic, eddy current, magnetic inductive and leakage flux testing (in close cooperation with renowned manufacturers)
- Optionally equipped with belt drivers, prism roller drivers or triple centring drives
- Fully automated testing lines
- Feeding systems for testing units with separation units and sorting bins
- Integration of systems for length, diameter and straightness testing, as well as paint marking
sema driver and testing tables at a glance

Straightness measurement
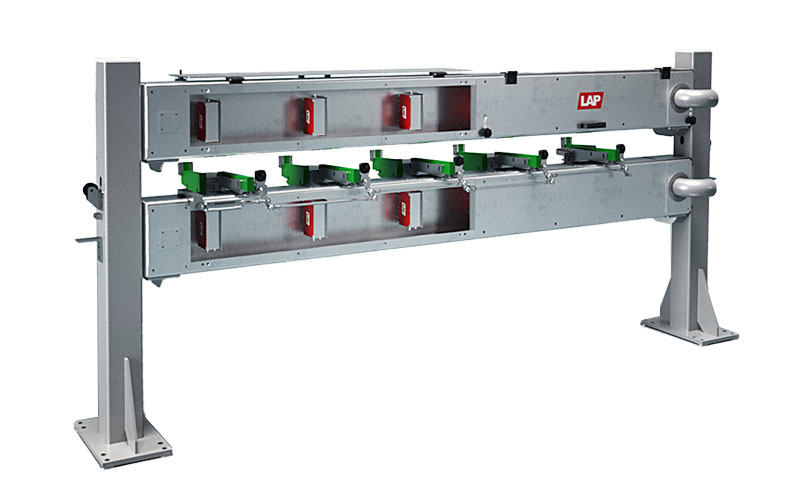
X-Line – Laser measuring system for straightness testing of rods and pipesStraightness measurement
Improved product quality through straightness measurement
- Innovative laser technology for inline straightness inspection of round profiles
- Measuring frame can be integrated directly into the production line
- Scanning of the object for precise measurement
- Millimetre-accurate measurement results
- Optional determination of additional measurement parameters

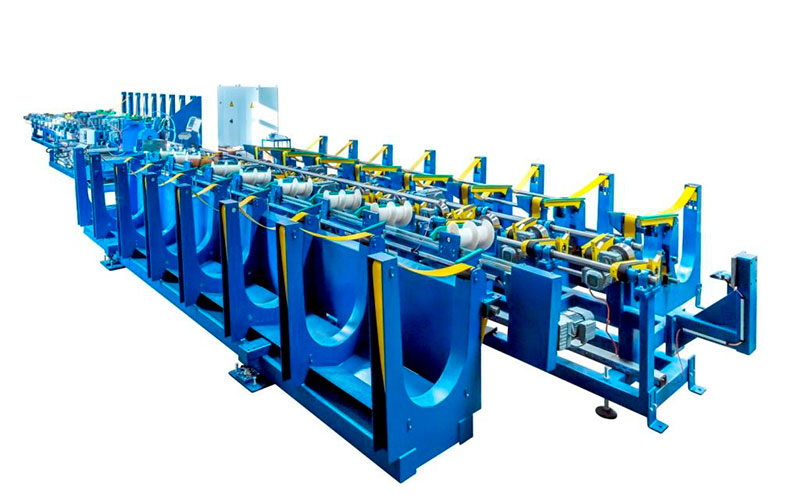
Test lines
Non-destructive testing with defect sortingTest lines
Highlights
- Maximum guiding precision
- Fully automatic separation and feeding
- Testing possible without a gap (e.g. ultrasound for pipes)
- Precise marking of the tested fault locations
- Multiple sorting depending on the test error
- Interlinking with sawing systems to cut off imperfections or untested ends
- Integration of geometry checks such as length, diameter, straightness, etc.
- Kundenspezifische Auslegung des Materialhandling

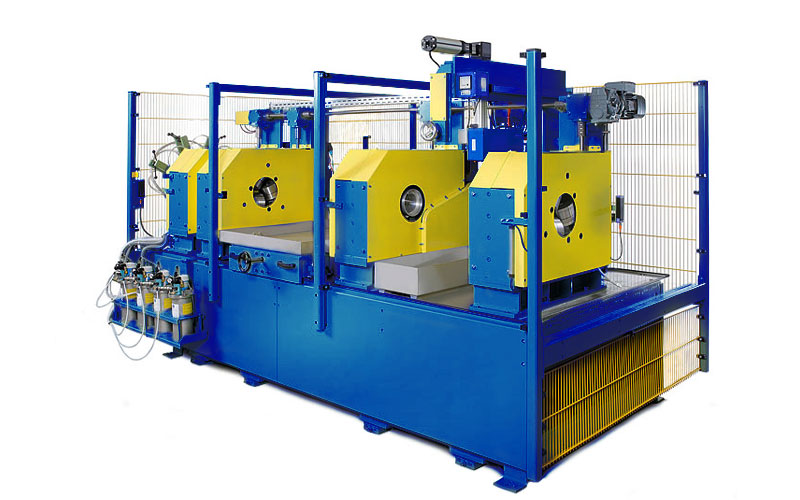
Testing unit
Non-destructive testing at speeds of up to 240 m/minTesting unit
Highlights
- Large diameter range
- Highly precise measuring systems for height and diameter adjustment
- Automatic format changeover
- Stable, precise basic design
- Modular design
- Proven interface to all major testing equipment manufacturers

